Thermoplastic hose assembly instructions
Code: - - -
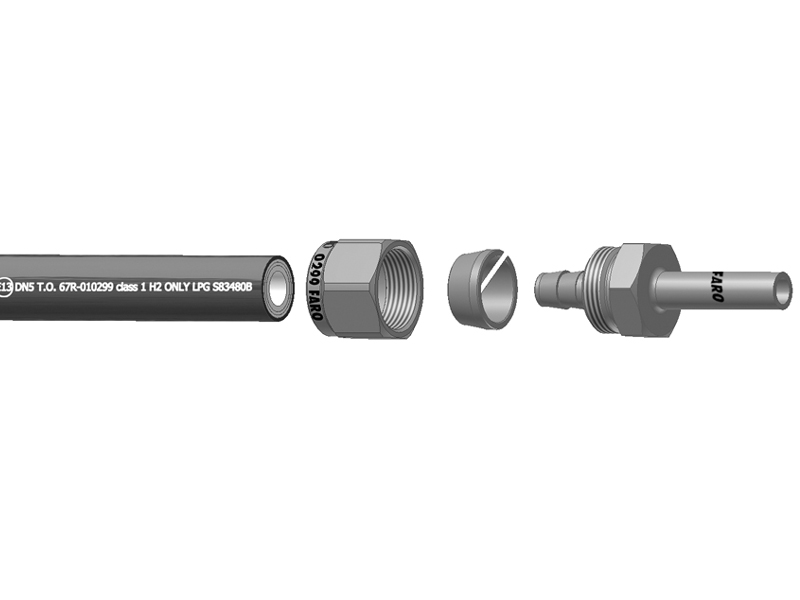
INSTRUCTION TO ASSEMBLE FLEXIBLE HOSE
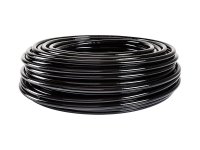
- Cut the hose edge in a perpendicular way. Verify that there is no residual of protective covering. Position the nut and the bicone
- Block the connection in a vise. Position the hose on the connection edge. Push strongly the hose against the shoulder of the connection
-tective covering. Position the nut and the bicone
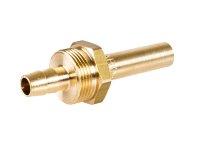
- Push the bicone against the shoulder of the connection
- Screw the nut on the connection against the shoulder of the connection
IMPORTANT
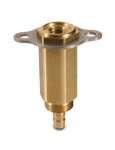
THE HOSE CAN BE ASSEMBLED ONLY AND EXCLUSIVELY WITH FARO FITTINGS. THE GUARANTEE AND THE HOMOLOGATION WILL BE EFFECTIVE ONLY IF THE ABOVE MENTIONED CONDITIONS ARE RESPECTED
GENERAL INDICATION
- Tightening torque for the connections with a 18 mm wrench must be between 28 and 30 Nm
- Tightening torque for the connections with a 16 mm wrench must be between 23 and 25 Nm
- The minimun bending ray for the hoses with an external diameter of 12,2 mm is of 35 mm
- The minimun bending ray for the hoses with an external diameter of 9,6 mm is of 25 mm
- Do not place the hoses next to heat sources which are at more than 125°C
- We suggest to fasten the hoses with clamps every 50 cm
- We suggest to test the plant after assemblage